If you’re just starting out in photography, it can be quite intimidating to learn everything you need to know to take high-quality photos. But, there’s a few basic techniques that will help you make great strides.
Additionally, there are excellent online resources you can turn to for more detailed information. Photography Courses, for example, have guides on everything from landscapes to architecture to nude photography.
If you need something of high quality equipment, you can take a look at Brooklyn Grip and Electric for your photography needs.
Learn How to Hold a Camera Properly
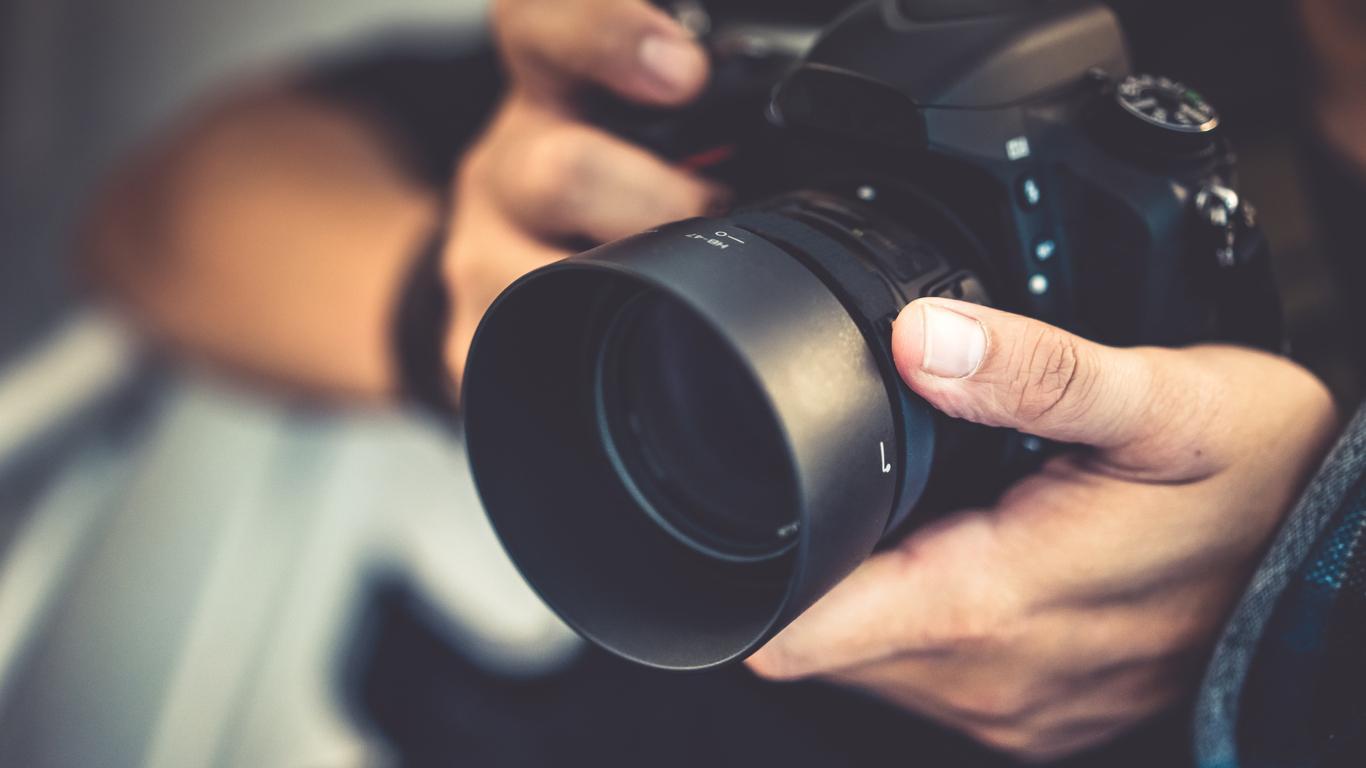
Image Credit: ArisSu via iStock

One of the most basic techniques of a Pro Photo Studio is simply learning how to hold a camera.
If you’re using a mirrorless or DSLR camera, hold the camera’s grip with your right hand and support the underside of the camera body with your left hand.
Then, assume a stable position to support the camera. Stand with your feet shoulder-width apart and press your elbows into your chest. Doing so gives your camera the most stable base possible without using a tripod.
If you use a smartphone for your photography, grip the phone with both hands and use the same foot position. Also use the same elbows-to-chest arrangement for stability.
Use Different Angles
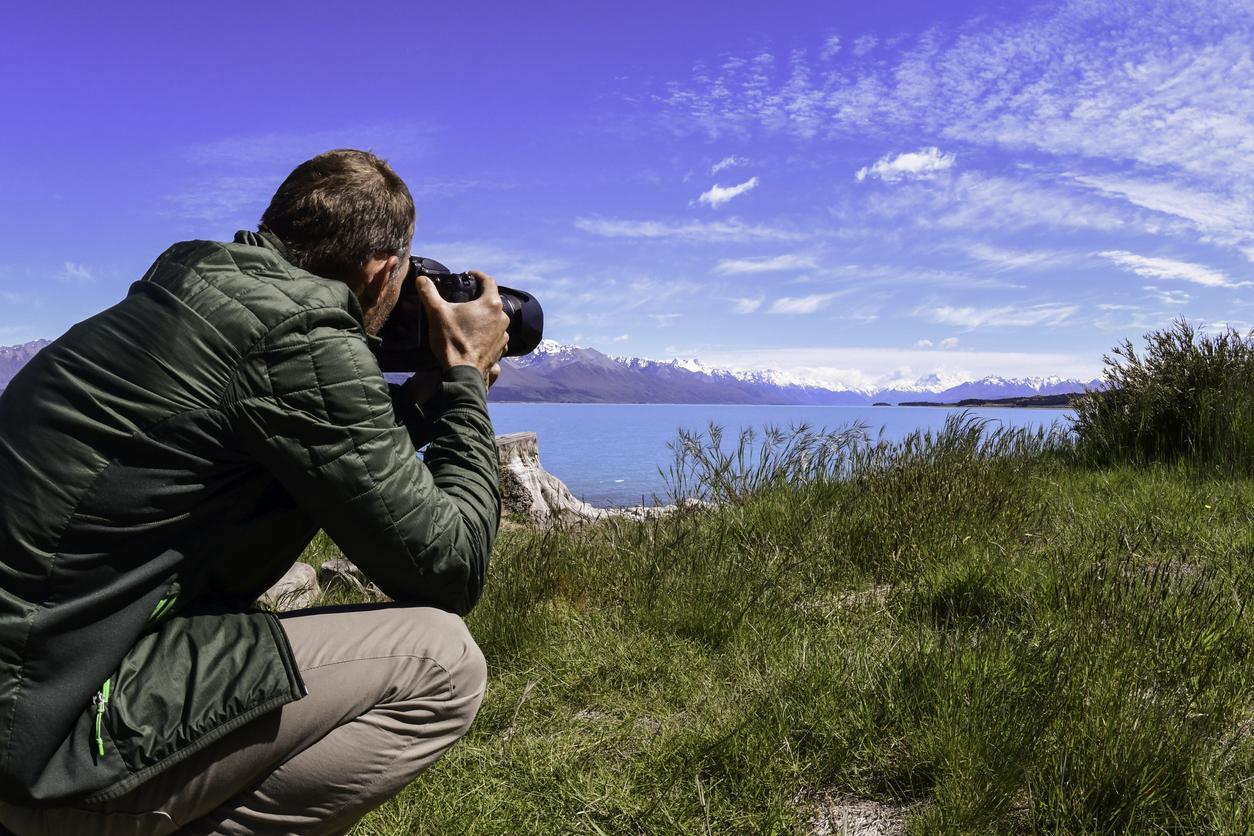
Image Credit: Georgia Court via iStock
A common mistake that beginner photographers make is taking photos from the same angle each and every time – usually your eye level.
While it’s fine to take some photos from your eye level, you can create much more interest in your photos if you vary the angle. So, get down low to the ground for a “worm’s eye view” of the subject. Doing so emphasizes the subject’s size and allows you to introduce foreground interest into the shot.
Then try taking a shot of the subject from up high. Looking down toward a subject makes it seem smaller while also allowing you to show the context of the scene around the subject. This is a good trick to use if you want to show how the subject relates to its surroundings.
Fill the Frame
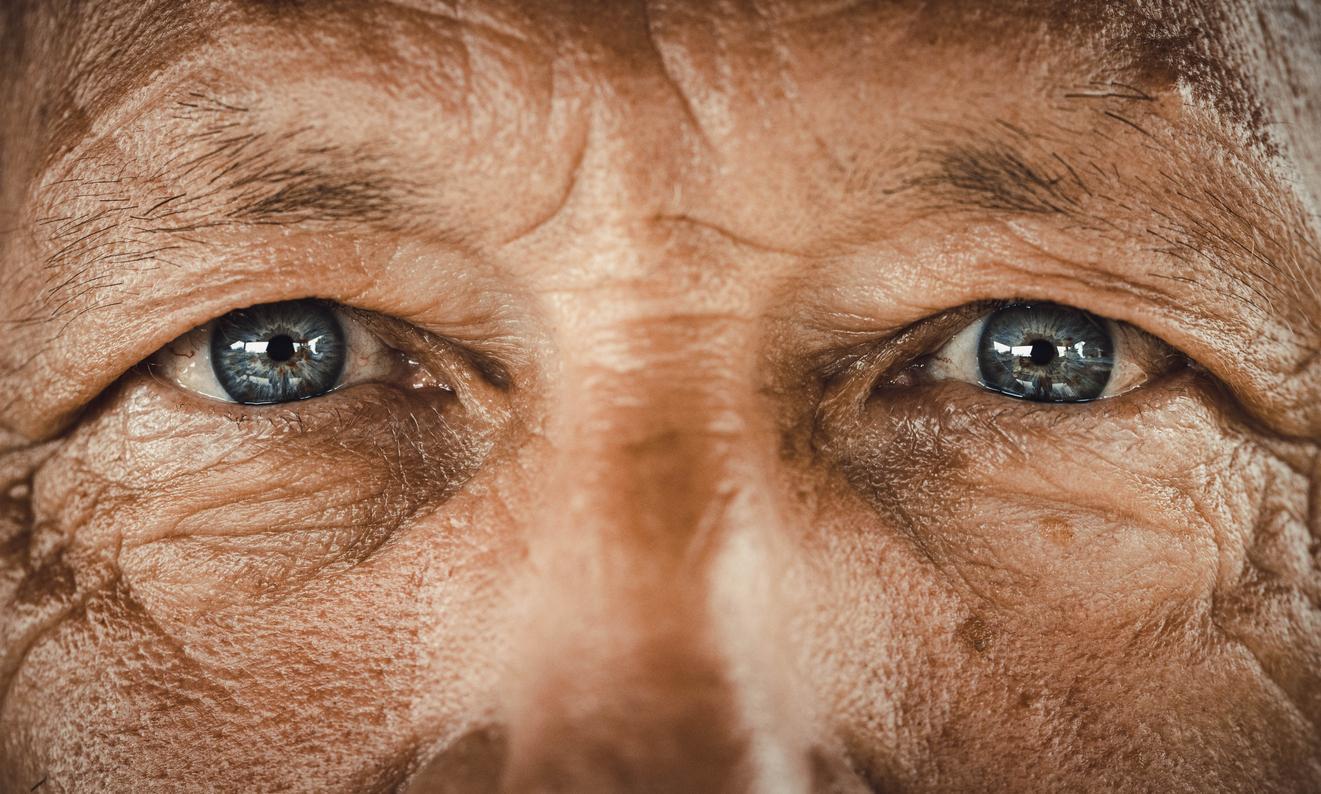
Image Credit: skynesher via iStock
Another basic technique in photography that can have pleasing results is to fill the frame with the subject.
Now, not every situation calls for filling the frame (e.g., a landscape photo of mountains and valleys), but many other types of photography offer opportunities to highlight the subject up close.
As the name suggests, filling the frame simply means getting in close to the subject and omitting everything else. The image above is a good example of this concept.
Use the Rule of Thirds
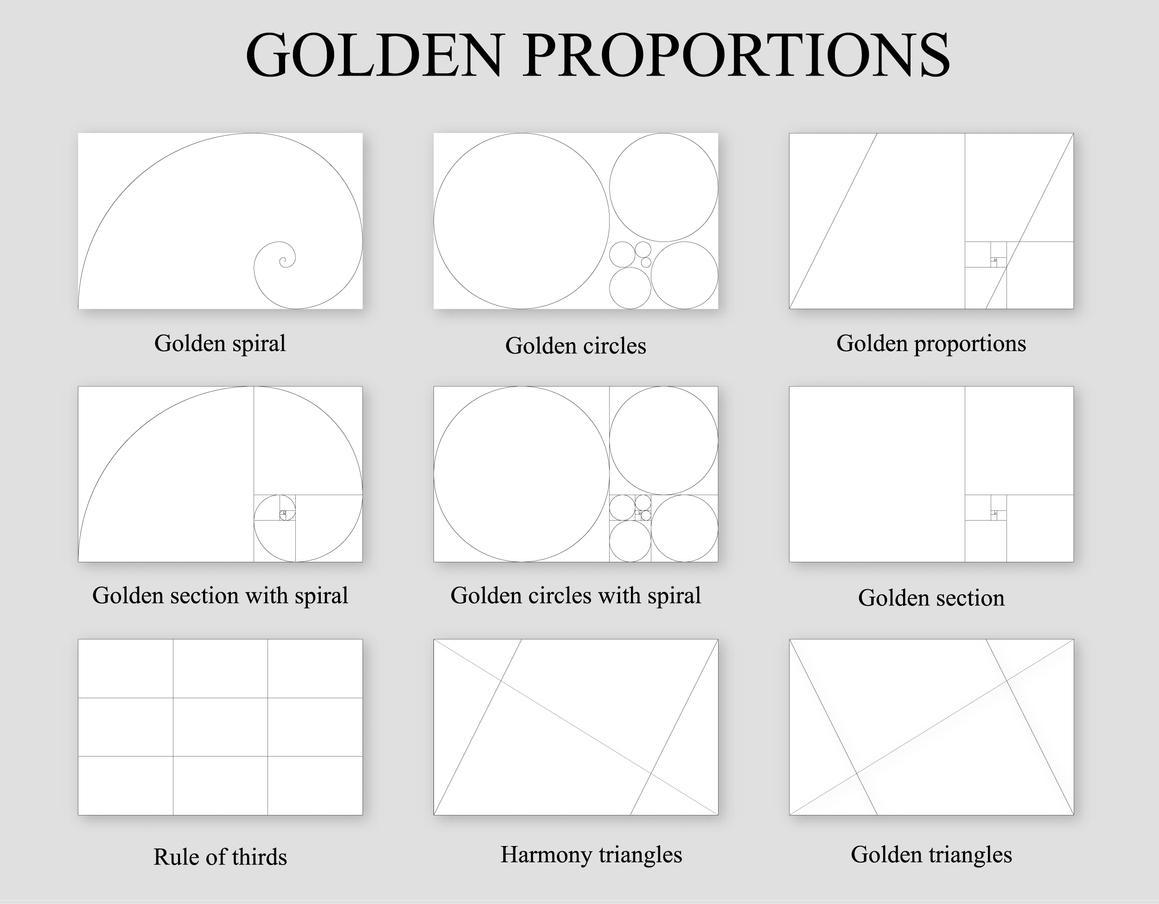
Image Credit: Alexey Bezrodny via iStock
The Rule of Thirds is perhaps the most basic of photography techniques. Yet, it’s a very powerful compositional tool that enables you to create better photos.
As you can see above, the Rule of Thirds is just one of many compositional tools you can use. All of the tools shown above identify ideal placements to emphasize important elements in the shot.
So, with the Rule of Thirds, try placing the subject at one of the intersection points of the horizontal and vertical lines. Doing so helps create a more balanced photo while also helping to bring more attention to the subject.
The other techniques shown above do the same thing. So, for example, when using the Golden Triangles, place important elements where the lines intersect.
Landscapes Love Golden Hour

Image Credit: Biletskiy_Evgeniy via iStock
If you like to photograph landscapes, the best time to do so is during Golden Hour, which occurs in the hour or so after sunrise and the hour or so before sunset.
The light at this time of day is very soft and very warm. You’ll find that this creates a very different mood than landscape photos taken during midday.
Additionally, since the sun is so low in the sky during Golden Hour, the landscape will have long, soft shadows that give your photo more visual appeal and greater dimension.
You can also play around with silhouettes, like photographing a mountain peak at sunset – the mountain will likely be very dark but the sky behind it will be beautiful sunset colors. It’s a great combination!
Use the Gear You Already Have
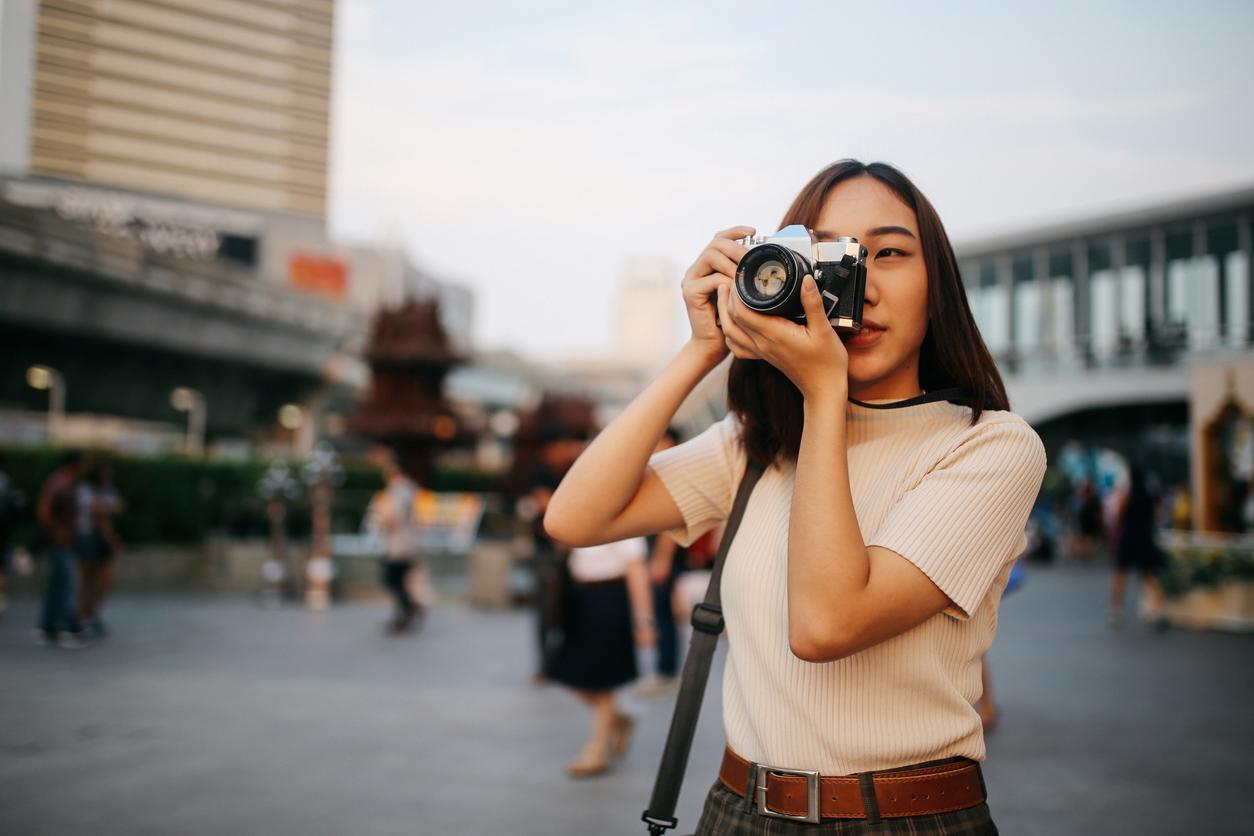
Image Credit: lechatnoir via iStock
When you start out in photography, it can be tempting to spend hundreds (if not thousands) of dollars on new gear. This is a mistake!
Use the gear you have to learn the basics of photography first, and then when your skills outpace what your current gear can handle, then invest in new gear.
Learning how to use the Rule of Thirds with your phone will be the same as if you have a $5,000 professional camera. Likewise, understanding the principles of lighting, color theory, and so forth will be just as easy on a $100 used camera as a high-end pro model.
So, get your bearings in photography by using your current camera, save some money, and when you’re ready, invest in gear that will last you a long time!