Supply valve boxes can be a great addition to your finished room. Not only do they hide exposed valves, but they also save space within the room by storing key plumbing components. Learn more about the benefits of supply valve boxes today! Listed below are the most common uses for supply valve boxes. Read on to learn more. And don’t forget to check out our blog on how to install them!
Components
Choosing the correct supply valve box for your property is essential to a reliable water and gas supply. Valve boxes protect valuable components and controls from damage or vandalism. In addition, a quality box prevents unauthorized access to gas and water supply components.
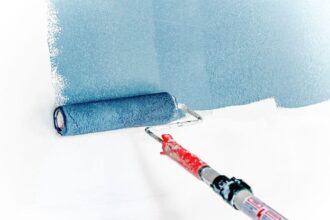
The most apparent benefit of supply valve boxes is their ability to hide exposed valves and pipes. Supply valve boxes help create a cleaner look for walls and can be adapted to the aesthetics of any room. Adding a supply box requires additional work, including opening the wall, running water lines, and refinishing the surface. As such, installing an IPS valve is best accomplished during your home’s new construction or renovation project.
Rectangular valve boxes have overlapping lids for protection from dirt. They also prevent dirt from lodging between the lid and body. Some rectangular boxes are available in green, sand, or purple. Some feature lockable lids to prevent vandalism, and others have extra ribs for additional support on the sides. Lastly, they feature pre-molded pipe slots for up to 2.5″ diameter pipes. Furthermore, many are UV-inhibited, making them less likely to develop discoloration.

Functions
A supply box allows you to hide valves in unfinished areas of your home, which gives finished spaces square footage. In addition, supply boxes will enable you to organize the significant plumbing components within the room. They are instrumental in kitchens, where exposed valves can cause a visual distraction. These boxes are an inexpensive way to conceal plumbing valves and keep the room looking organized.
Flow lines are also helpful in determining the position of the valve. Flow lines are typically arrowed and indicate flow direction, and flow boxes also indicate the number of positions available.
Materials
Materials used in supply valve boxes should comply with all applicable codes and standards. Generally, valve boxes are made from 4″ x 2″ square concrete class B with a fusion bonded epoxy coating.
The cover of a supply valve box should be flush with the paved area and the ground line. Ensure that the valve box is supported by a minimum amount of backfill, hardwood blocks, or styrofoam collar. The valve box should never rest directly on the valve, or the main, and extension sections should be provided when necessary. If it is buried in the ground, the valve box should be supported by a foundation, such as a pipe trench.
Valve boxes come in a variety of styles and materials. Some are made of steel or stainless steel. There are recessed and flush-mounted varieties available. Some have special features, such as mud plugs and engraved plates. Some valve boxes are even customized. They can be made in custom sizes to meet the specifications of a particular irrigation system. For additional safety, some valve boxes are equipped with an alarm system that signals when a leak occurs.
Installation
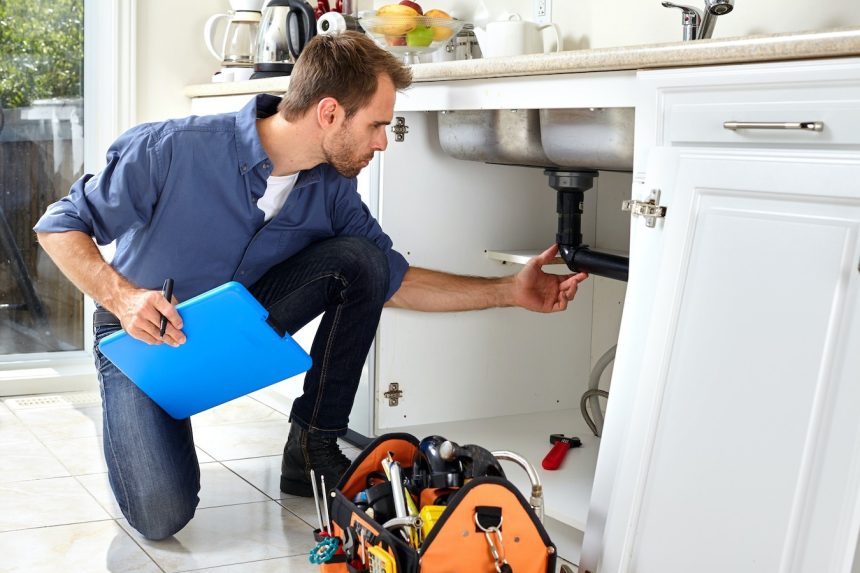
Before installing supply valve boxes, you should carefully measure the diameter of the existing pipes in the house. The valve boxes are usually located on a stud, ensuring that the pipes are not obstructed or plugged. Once the water line has been installed, you can finish the box’s drywall. Aside from that, the supply valve boxes may come with a faceplate, which is helpful in a home that wants to make the space look more attractive. Depending on the installation requirements, some companies offer different sizes of faceplates. You can also choose from a louvered or partial-covered faceplate.
You should know how to connect the pipes properly when installing supply valve boxes. The pipes should be positioned at least 12 inches from the supply valve box to prevent water leaks. Once the valve is installed correctly, you can connect the pipes to the supply lines. Make sure to disconnect any flexible braided lines before you start installing the valve. If you have an irrigation system, you can plug the valves and attach a liquid fertilizer injector.