MacBook is the well-known name for its amazing features, but sometimes it goes to a dead state without any warning. If you are looking for methods to recover data from a dead Mac then don’t worry as you are at the right place.
There are several reasons why your Mac hard drive fails all of a sudden. Whatever is the reason for your dead Mac, there is a chance of getting back your deleted files from a dead Mac.
When your Mac will not turn on and displays a grey, black, or white screen, then you will be unable to access files from it. In that situation, you need to apply some Mac data recovery methods to get those files back. Here, in this article, we will discuss some reasons why your Mac goes to the dead state and common methods that you can apply to recover data from it.
Why Mac Devices Go to Dead State?
It is important to find the exact reasons why macOS devices go to the dead state. Given below are some major reasons why your Mac device may go to dead state or fail all of a sudden:

- Outdated version of the Operating system installed on your device may corrupt or crash your Mac hard drive.
- There may be hardware issues, like problems with the logical board or memory of your device. Such hard drive-related issues can prevent your Mac device from booting up.
- Bad sectors of the hard drive can result in Mac hard drive failure.
- Virus or Malware attacks on your device can also damage your Mac.
Now that you are familiar with the reasons for such issues, you can proceed with the Mac data recovery methods to recover data from your dead Mac. Keep reading this article to learn these recovery methods in detail.
Quick Methods to Recover Data from Dead/Crashed Mac
Getting files out of a dead hard drive is an easy process. There are several Mac data recovery methods available that you can try to retrieve files from your dead hard drive. These include:
Method 01: Recover Files by Entering Recovery Mode
If your Mac hard drive is not working, check whether it is possible to boot your Mac device from recovery HD. Recovery HD is a hard drive partition that allows you to restore the system software of your Mac device on its hard drive.
Go through the following steps to recover files from dead Mac using this method:
- First, you need to turn ON your MacBook and then immediately click on the Apple logo located in the top left corner of the screen.
- Now, click the Restart button.
- Once the system restarted, press the Command and R keys simultaneously. This will display Recovery Mode Utilities indicating several options as shown below on your screen.
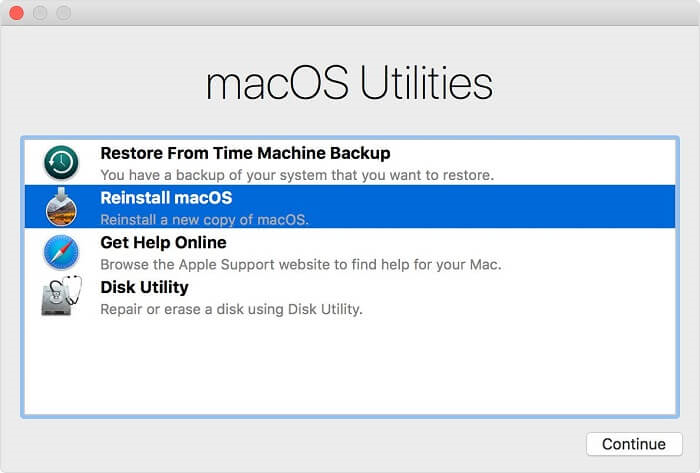
- Click on Disk Utility to run it. When Disk Utility opens up on your device, locate the Utility folder available in the Apps folder. You can also click Command and Space button to set up the Disk Utility.
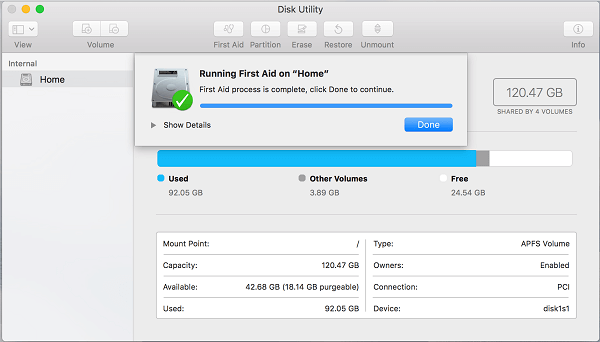
- Locate and select the disk where your files were earlier stored. From there, click on the First Aid option.
- After that, you will get a message asking if you want to run First Aid on Home. Click Run to continue.

- Once the process is successfully completed, you will see a box with a message indicating that the First Aid process is complete. Tap Done to close the dialogue box.
If any issue found during the recovery process, Disk Utility will automatically try to fix it. When the process will complete, you can proceed to recover files from your MacBook.
However, it is important to note here that if you have successfully completed the process of booting from the Recovery Mode, you need any other drive to store the recovered file.
Method 02: Use External Hard Drive to Recover Data from a Dead PC
As the hard drive becomes dead, you may face problems while booting it. In this situation, you can remove the hard drive and use an external hard drive to recover the files from it.
Check the following steps to know how to recover data from a dead Mac using this method:
- First, connect an external hard drive to your dead Mac device.
- Boot into Recovery mode and launch Disk Utility on your device.
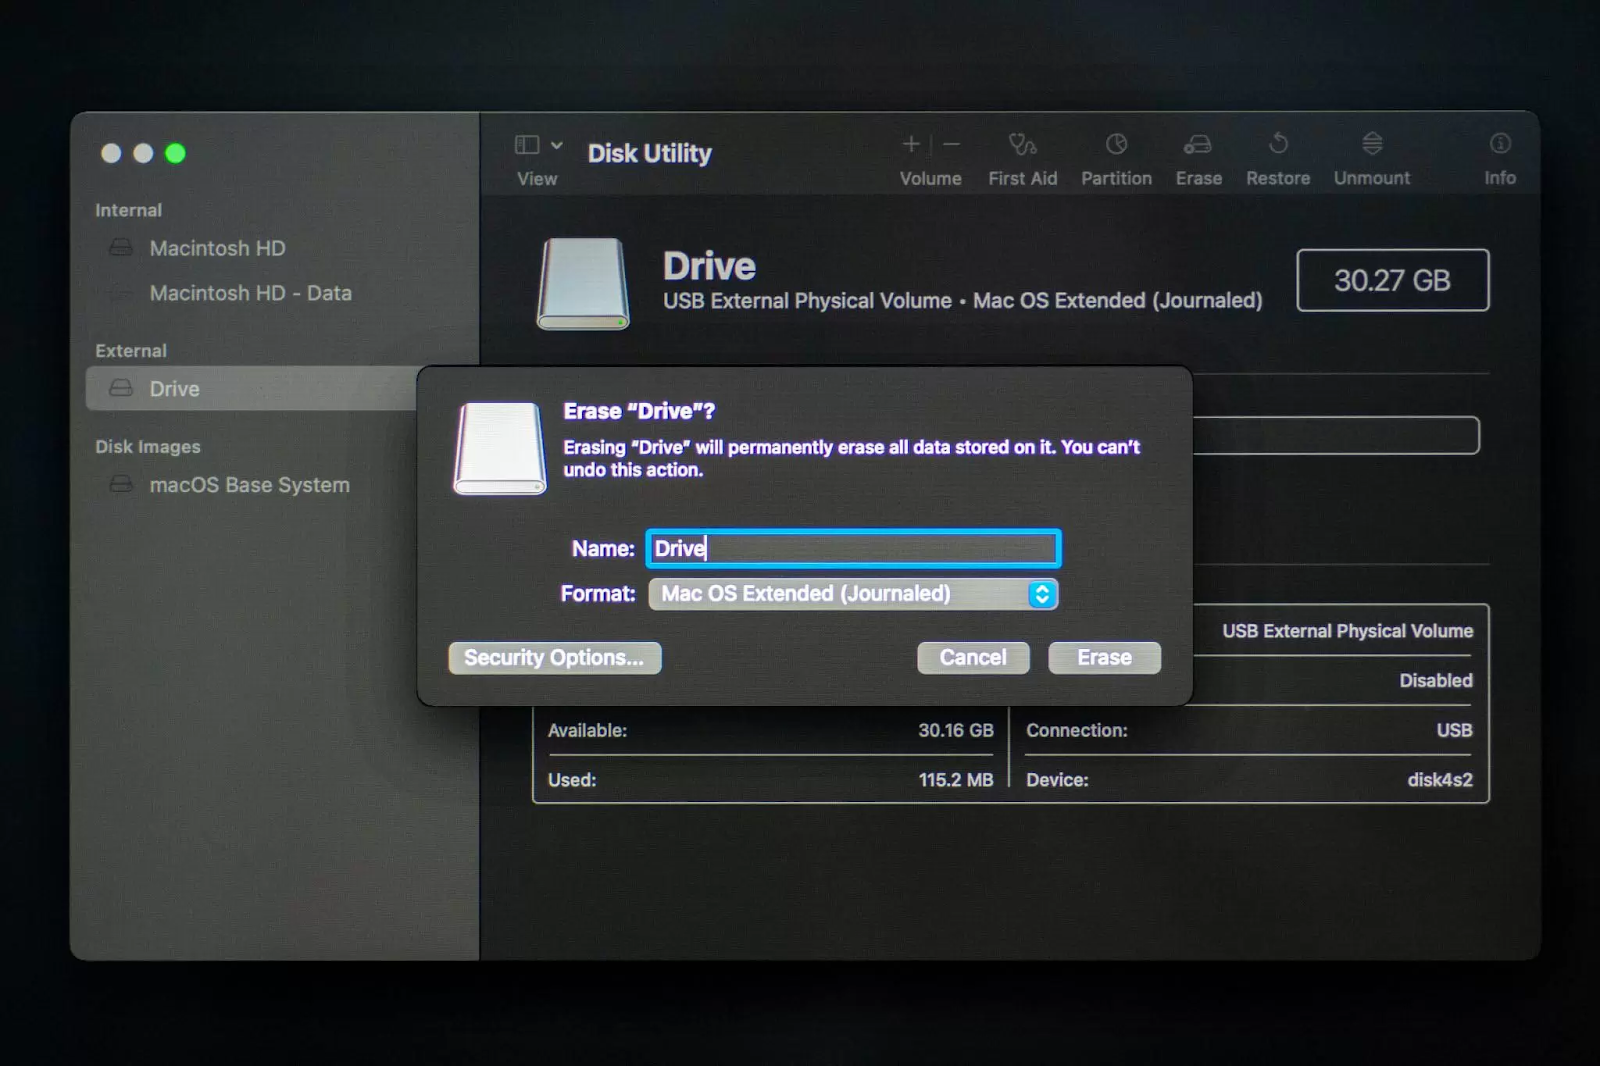
- Choose the connected external drive from the list of devices appearing in the left-navigation pane and tap the Erase button.
- Select your device name and click the Mac OS Extended (Journaled) format and the GUID Partition Map scheme options.
- Click Macintosh HD appearing on the left pane and then navigate to File > New Image > Image from Macintosh HD.
- Now, type a name for your backup in the Save As field. Also, choose an appropriate location from the Where field along with the read/write image field. Click the Save button to create the backup.
Once the backup is successfully created, you can remove the drive and connect it to a working Mac. Now, you need a professional Mac data recovery software, like Stellar Data Recovery Professional for Mac to complete the recovery process.
Just run the recovery software and choose the backup file you created above from the available storage devices. Check the next recovery method to know how to recover data from backup using Stellar Data Recovery Professional for Mac.
Method 03: Recover Data Using Mac Data Recovery Software
If your Mac is dead and the above methods fail to recover your data from it, then you can use a Mac data recovery software to recover the data. There are several software available online that you can use for this purpose.
Here, Stellar Data Recovery Professional for Mac can help in better way due to following reasons:
- This all-in-one data recovery software is compatible with M1, M2 & T2 chip-enabled Macs.
- Recover files with the Mac operating system Ventura 13 and lower versions, including macOS Catalina, Mojave and more.
- This software can recover files deleted due to any reason, including system crashes, accidental deletion, formatted drives, etc.
- Supports recovery of almost all kinds of files, including documents, photos, videos, audio, & others.
Follow the below-given steps to recover files from a dead Mac using the Stellar Data Recovery Professional tool:
- Connect the external drive on which you have created the backup to your Mac.
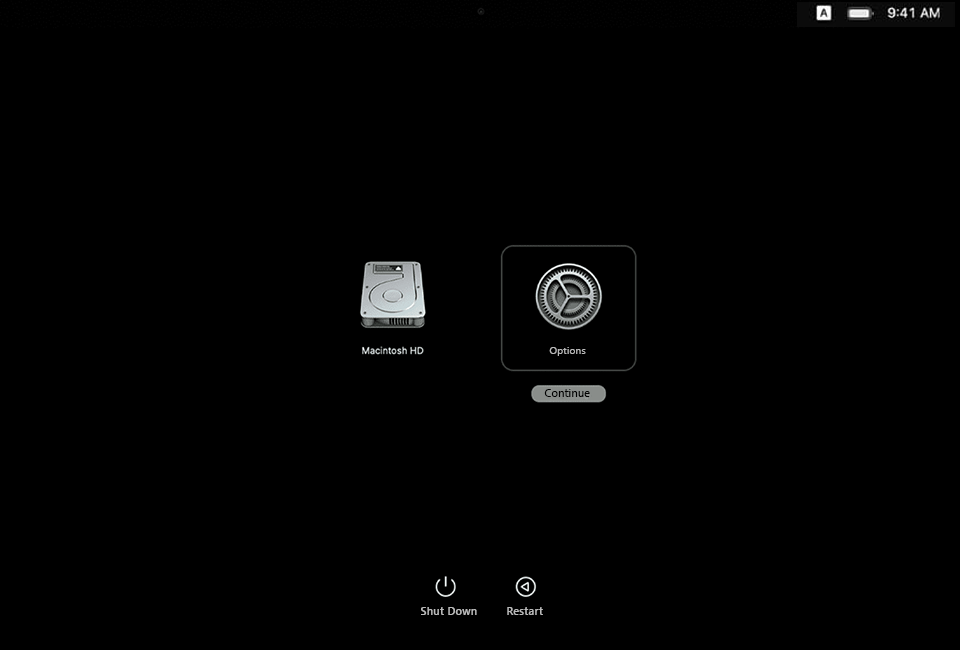
- Now, keep pressing the Power button of your Mac until it starts in Recovery Mode.
- Click Option and then Continue; Tap the Next button once the macOS recovery window appears on the screen.
- Then, provide the Admin Password and press the Continue button. Now your Mac device will go to the Recovery mode.
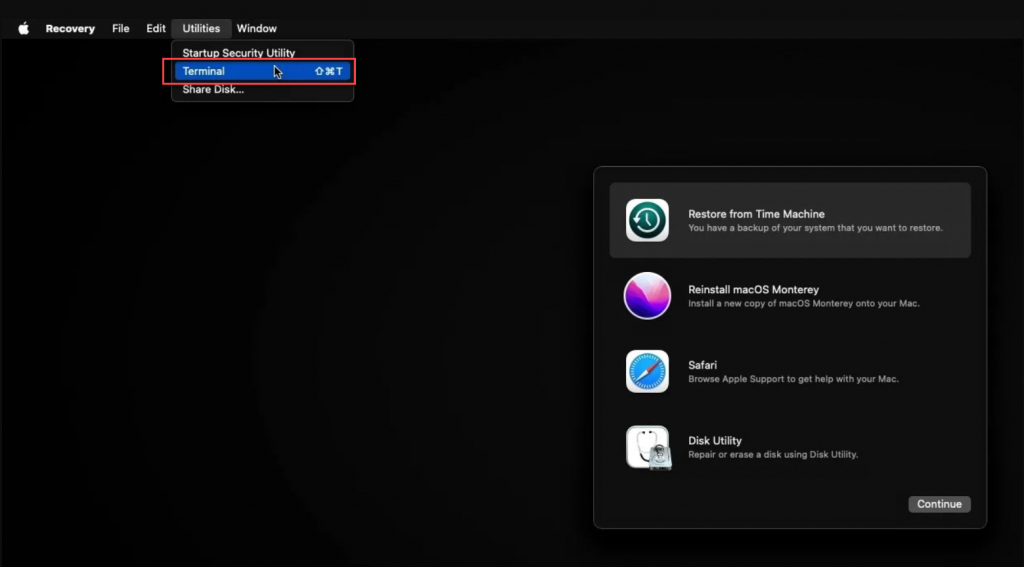
- From the Recovery Window, select Terminal from the Utilities menu.
- Type the command: sh <(curl http://www.stellardatarecovery.co.in/StellarData Recovery.xml) in the Terminal and press the Return button.

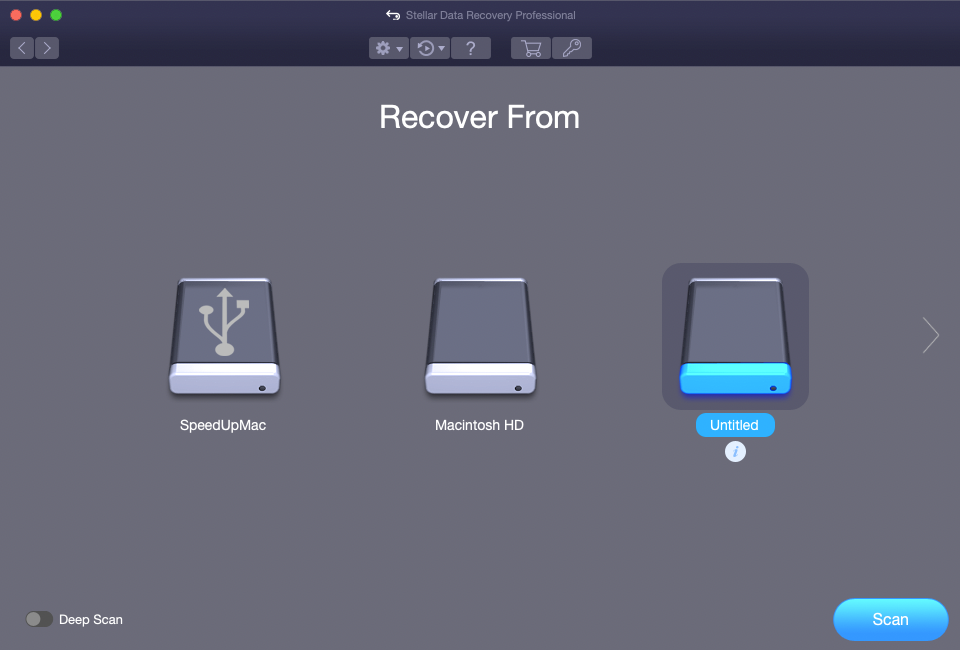
- Go through the on-screen instructions to start the recovery process with Stellar Data Recovery Professional for Mac. Launch the software and select the location from the “Recover From” window. Click Scan after selecting the drive from where you need to recover data.
- Once scanning process is done, you will get a message indicating Scanning Completed Successfully! Click OK to continue.
- At last, click the Recover button to save the recovered files at desired location.

Tips to Prevent Your Mac from Being Dead
However, the Mac data recovery methods are quite easy to implement, but it is important to avoid such a situation from your end. To prevent Mac from crashing, you need to keep the following tips in your mind:
- Make sure the hard drive of your Mac has enough storage space.
- Keep your device OS and installed software programs updated in order to avoid any vulnerabilities.
- Avoid opening multiple apps at the same time.
- Ensure that your Mac is not overheating.
- Keep proper track of the available storage device on the Mac
Wrapping Up
In this post, we have discussed several methods to answer how to recover data from a dead Mac. Data loss scenarios can occur to anyone at any time. Therefore, it is important to have a backup of important data in order to deal with such worst scenarios.
Make a habit of regularly backing up your Mac, so you won’t have to deal with data recovery problems if your Mac dies.
Recovery software like Stellar Data Recovery Professional for Mac can help you to recover files deleted because of any reason. At last, we conclude by saying that it is necessary to try a recovery tool for your data loss problems.