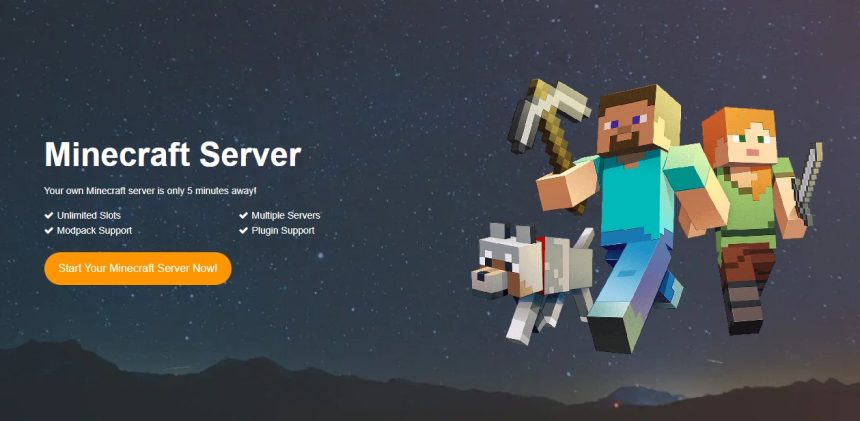
Minecraft is a phenomenon and has taking the world by storm since its release. One of the most played games of all time, every day millions of people enjoy spending time crafting, building and exploring. But there is nothing quite like hosting your own Minecraft server, because you get to set the rules and create the perfect space for you and your friends.
But while that sounds fun, setting up a Minecraft server looks complicated, and that can put many people off. But what if it really was easy to do? Would you start your own Minecraft server then? Here’s our guide to making your own Minecraft server, quickly and easily.
Computer or hosted?
There are two options when it comes to hosting a Minecraft server, and deciding which to use is the first step to making yours. You can host it on a computer at home, however this is not the best way to go. It uses a lot of resources on your PC, consumes a lot of your internet connection so everyone else using it will notice things slowing down. This can affect streaming and other activities, so you may not be popular at home if you went this route.
But above all, it is a lot of hassle to keep running smoothly, and introduces a number of security risks that can compromise your computer and any other connected devices you have at home. In general, it just is not worth it when there is a much simpler option.

A hosted server.
This approach leads you to rent a server from a dedicated service, and is by far the easiest, and best, way to make your own Minecraft server.
Setting up a Minecraft Server on Scalacube
There are several Minecraft server hosting sites to choose from, but with rapid support and great performance, Scalacube is one of the best options out there. All services operate in a similar way though, so you can follow these instructions on any site you prefer.
First you sign up for an account, choose your game you want a server for and other details. These include:
Location – To keep latency low, choose a location near to where you are.
Service Plan – Then you need to choose the type of server hosting you want. Think about how many people you are going to have in your game at once. It can be tempting to just go for the largest possible server, which is usually over 200 players, but if you don’t need that you can save money by choosing a lower capacity.
Choose any Add-ons – Depending on the provider, your Minecraft Server hosting plan may have some optional extras such as automated backups, so you can resume your game where you left off if something happens. Other options include customized launchers so you always go straight to your own server and other applications. Depending on what you are doing, you may need one or more of these.
After that, you provide your payment details and you are ready to go and enjoy your Minecraft Server.
Connecting to the Server
Once everything is set up, you can find the IP address of your new Minecraft server from the details in your account. All you need to do to is open Minecraft, click on Multiplayer, select ‘Add Server’ and enter your server address.
That’s it! Now you have your server and can go and play.
Having a server all to yourself is fun, but for most of us, the whole point is to share a server with friends so you can play together. All you need to do is give the server address to the people you want to join in with you, and they can log into your Minecraft Server in the same way.
Remember that there is a player limit on your server, decided when you chose your plan, so keep your invites below that number and you will be fine. If over time you find that you want more players, you can usually upgrade your plan so you can have more players online.
Making Changes
One of the great things about having your own Minecraft server is that you can create the perfect Minecraft setting for you. Whatever you enjoy, you can make it happen. From different modes to weather settings and more, you can change them all to fit exactly how you want to play.
This is the other benefit of a hosted system rather than having everything on your own computer. Hosted systems provide an easy to use dashboard to manage your server, and that includes all the options you may want to change.
Instead of having figure everything out yourself, you get a simple console to manage everything online, you can have everything you want in just a few clicks.
It really is easy to create your own Minecraft Server with the help of a dedicated hosting company. Just sign up and get going with your favorite game.