From status indicators to counter-culture, fashion has a long history of patches. And now that they’re making a comeback, you might be wanting to get your own!
The two ways to apply patches are by sewing or ironing them on, but iron on patches are usually easier to apply. But knowing how to iron on a patch is important because if you do it incorrectly, you can damage your clothing.
Keep reading to learn everything you need to know about ironing on a patch.
What Is an Iron On Patch?
An iron on patch is an embroidered piece of fabric with a thin layer of plastic on the underside. When applied to clothing properly, the plastic melts and dries against the fabric, making the patch stick to the material.

This is why it’s easier to iron on a patch rather than sew it on. Sewn on patches don’t have the plastic layer, and need to be stitched onto clothing. And while this usually lasts longer, not everyone has the skill to sew on patches.
There are several types of patches that can be patched using iron. These include:
- Cloth patches
- Chenille patches
- Rubber patches
- Leather patches
- Athletic-specific patches
Each of these different types of patches has its own pros and cons when it comes to ironing them on. You can get the perfect patches that can be iron-fixed on clothes at 4incustompatch, which is an online store offering different fascinating ideas of iron patches.
How To Iron On a Patch
Before you begin ironing on a patch, read through this patch guide to make sure you know what you’re doing. It’s important to do it right the first time because it’s not easy to fix if you mess it up.
- Place the clothing item flat on an ironing board or heat-resistant surface.
- Place the iron on patch in the right position, with the glue side down.
- Turn your iron onto high heat, with no steam.
- Place a tea towel over the patch (to protect the embroidery and your clothing).
- Hold the iron down onto the tea towel, pressing hard onto the patch. Hold this for 10-15 seconds.
- Lift the iron up from the tea towel.
- Give the patch a few seconds to cool down, then check if it seems secure.
- If the badge is not secure yet, put the tea towel back on and press the iron down for another 10 seconds.
- Repeat steps 7-8 as needed until the patch is secure.
Some people go the extra mile and, once the patch is secure, iron it from the other side of the material.
Mistakes to Avoid
Keep these patch tips in mind when you iron on a patch. These are some of the common mistakes people make.
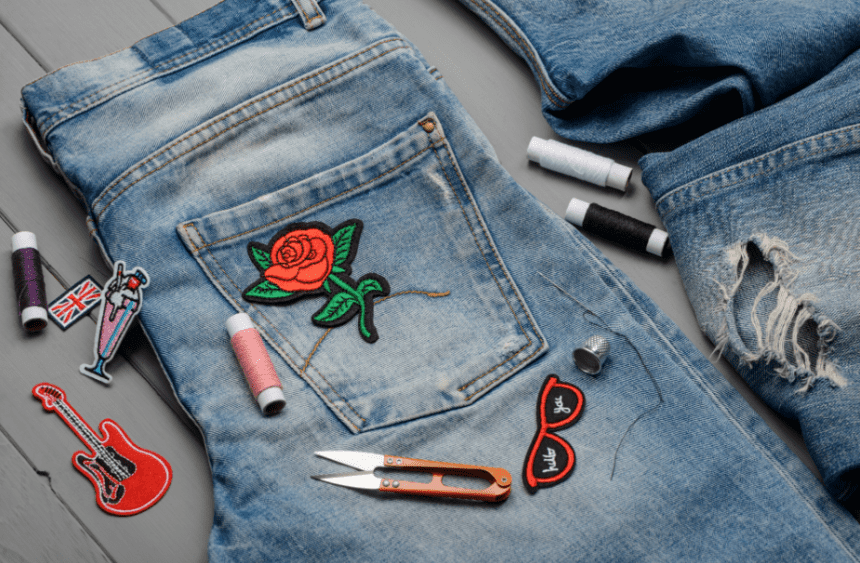
Make sure the material you’re applying the patch to will work. Some materials like leather get damaged when exposed to high heat, so trying to iron on a patch will ruin it. The best materials for iron on patches are denim and cotton.
Washing your clothing in a washing machine can lift the edges of the patch. It’s recommended that you hand wash any items with patches. Don’t wash it more than necessary.
Express Yourself With Iron On Patches
Now that you know how to iron on a patch, you can upgrade your wardrobe. Adding patches to your clothes is a great way to express your identity and make your clothing more unique.
If you enjoyed this article, please check out our blog for more content!