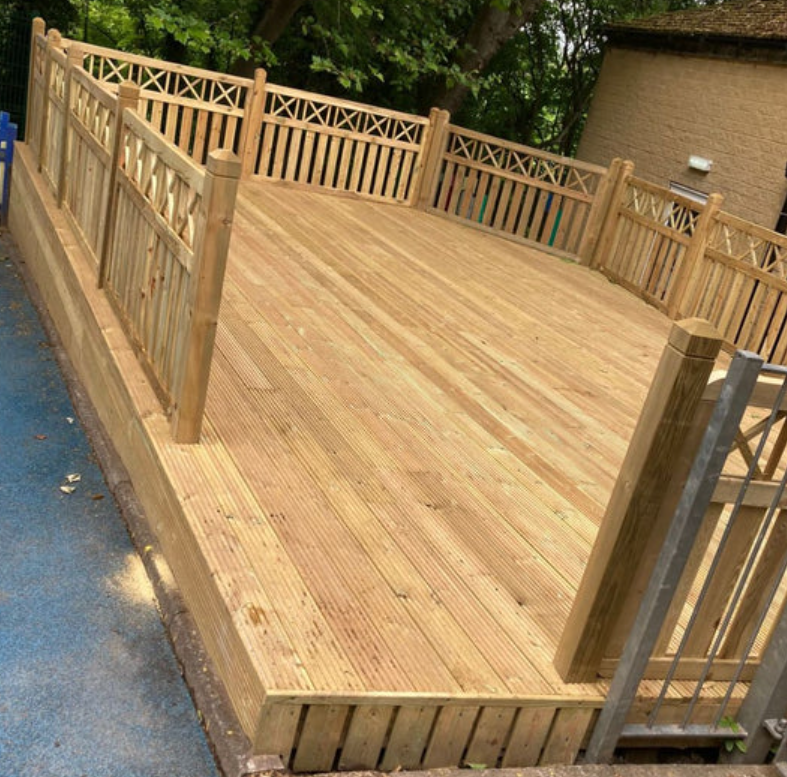
If you’re taking on a DIY composite decking project, you’re in for a rewarding experience. Not only will you improve your outdoor space, but you’ll also have the satisfaction of completing it yourself. However, to make your decking project a success, having the right tools is key. The proper gear will save you time, reduce frustration, and help you get professional-looking results. Let’s cover all the essential tools you’ll need to get started on your DIY composite decking project.
Measuring and Marking Tools
Before you even pick up a saw or drill, it’s important to have your measurements accurate. Here are the tools you’ll need for precise marking and layout:
- Tape Measure: A sturdy, reliable tape measure is a must. Accurate measurements are the foundation of a successful decking project, so be sure to measure each section carefully before cutting.
- Square: A framing square is essential for making sure your angles are correct. This is especially important for corner cuts and edge alignments, as even a small error can throw off the whole deck.
- Chalk Line: If you’re laying down a lot of decking boards, a chalk line will come in handy to mark long, straight lines quickly. It’s much easier than trying to draw out each line with a pencil and ensures a consistent, straight layout. Don’t forget to buy quality composite decking from dino.co.uk.
Power Tools for Cutting Composite Decking
Next up, you’ll need the right power tools to cut your composite decking to size. Composite materials are different from wood, so it’s important to use the right tools to prevent damage.
- Circular Saw: This is probably the most important tool for cutting your decking boards. A circular saw will give you quick, straight cuts. Be sure to use a fine-toothed blade designed for composite materials, as these blades will make clean cuts and prevent splintering.
- Miter Saw: For angled cuts, such as those for trims or corners, a miter saw is perfect. It allows you to set precise angles and make quick cuts that will give your deck a professional look.
- Jigsaw: If your design involves curves or intricate shapes, a jigsaw will be your best friend. It’s perfect for cutting smaller, more detailed pieces where a circular saw might be too bulky.
Drilling and Fastening Tools
Drilling and fastening are integral to the process, as you’ll need to secure the decking boards in place.
- Cordless Drill: A good quality cordless drill is a must. It’s used for drilling pilot holes to avoid splitting the decking material and driving screws. A drill with variable speed settings will help you control the torque and avoid over-tightening the screws.
- Impact Driver: For driving screws quickly and efficiently, an impact driver is a game changer. It’s especially useful if you’re using long screws or need to install a lot of fasteners.
- Screwdrivers: While power tools do most of the heavy lifting, manual screwdrivers can still be helpful in tight spots or when you need more control over smaller screws.
Tools for Installing Decking Clips and Fasteners
Many composite decking systems use hidden fasteners to give your deck a clean, smooth look without visible screws. Here’s the gear you’ll need to handle this task:
- Decking Clip Installation Tool: Some composite decking systems come with clips that require a special tool to set them in place. This tool helps ensure the clips are installed correctly and firmly, keeping your deck looking sleek.
- Fastening System: There are a variety of fastening systems on the market, but be sure to choose one that’s compatible with composite materials. Most systems use hidden fasteners, which not only look better but also reduce the chance of warping or splintering over time.
- Screws and Nails: Always opt for rust-resistant, composite-specific fasteners. Stainless steel or coated screws are ideal for composite materials and will prevent corrosion, ensuring your deck lasts for years.
What is a Slope Corrector?
Perhaps you’re in the preparation stage of your decking. You’re trying to gather all of the right materials and are evaluating all of the tools you can buy. One thing you might come across is a slope corrector. This is a very handy device to use, and thankfully, it’s very affordable to buy for your DIY project.
So, what does a slope corrector do? This device is all about helping you create a stable and even decking area. it’s able to correct a slope up to a 5 per cent angle, which is going to lead to a better result. Let’s take a look at how you’ll know if this is a device that you need to purchase.
Look at Your Garden
Often, you’re going to know just looking at your outdoor space whether you need to use slope correctors. For example, there can be an incline in your garden or uneven terrain. If you feel like it’s going to be difficult to make the surface even enough for decking, this is when a slope corrector comes in.
Use a Spirit Level
Remember that you can use a large spirit level to see what the surface of your garden is like. This is going to allow you to know whether this is a slight slope that you’ll need to fix for the best results with decking. If the bubble isn’t within the centre lines, this means that there’s a slope.
Conclusion
Completing a DIY composite decking project can be a fun and rewarding experience, but it’s essential to have the right tools for the job. From measuring and cutting to safety and installation, having the proper gear will make the process much smoother and more efficient. Make sure to gather everything you need before you start, and you’ll be on your way to building a beautiful, long-lasting deck that you can be proud of.


