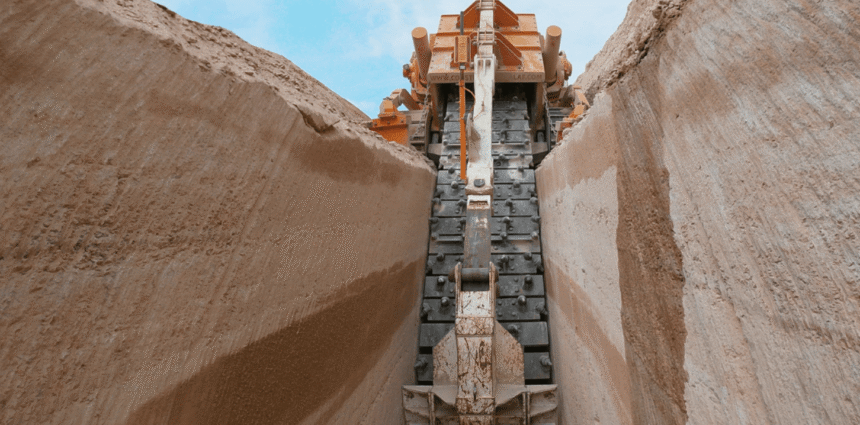
Are you ready to dig into a new project? If you’re tackling landscaping or light construction, a trencher might be just what you need.
These powerful machines make it easy to cut clean, narrow trenches for irrigation, drainage, and more. But before you rev one up, it’s smart to know the basics.
Whether you’re a DIY warrior or just curious, this beginner’s guide will help you get started safely and confidently. Let’s break ground and learn how to trench like a pro-without digging yourself into trouble!
Understand the Different Types of Trenchers
Trenchers come in various shapes and sizes, each built for specific tasks. Walk-behind trenchers are best for small jobs like garden irrigation.
Ride-on trenchers handle bigger projects such as laying utility lines. Chain trenchers dig deep and narrow, while wheel trenchers are faster and ideal for harder soils.
Plus, it makes a big difference in how smoothly your project goes.
Gather Necessary Equipment
Before starting, gather everything you’ll need. This includes safety gear like:
- gloves
- goggles
- ear protection
You’ll also need utility marking tools, measuring tape, and possibly spray paint for marking lines. However, you need to ensure the trencher is fueled and ready to go.
Check that you have the correct manual or user guide on hand. Having all your tools ready prevents delays. It also keeps your work organized and smooth.
Prepare the Worksite
Start by clearing the area of any debris, rocks, or branches. Make sure pets and kids are out of the way. Next, call your local utility company to mark underground lines-it’s a crucial safety step.
Mark your trench line using chalk or spray paint so you have a clear guide. If the ground is too dry, lightly water it to make digging easier. Avoid working on muddy or frozen soil for better control.
Remember, a clean, well-prepared site helps the trencher move smoothly and safely.
Operating the Trencher
It is crucial to read the operator’s manual before you start. Adjust the trencher’s depth and position based on your project.
Start slowly and guide the machine along your marked path. Stay alert and keep both hands on the controls.
For instance, a mini excavator trencher works well for tight spaces or shallow digging. Always keep a steady pace, don’t rush.
If you hit hard soil or a rock, stop the machine and inspect the area. Stay focused, and your work will stay safe and clean.
Finishing Touches
Once the process is complete, turn off and secure the trencher. Check for accuracy and make any small adjustments by hand if needed.
Also, remove loose dirt and debris with a shovel or broom. If the trench will hold pipes or cables, place them in carefully. Backfill the trench with the original soil or gravel, packing it down gently.
Rake the surface smooth for a tidy finish. Clean and store the trencher properly after use. These last steps may seem small, but they leave your project looking polished and ready for the next phase.
Mastering Trenchers for Your Projects
Understanding trenchers can make your landscaping or construction projects faster, easier, and more precise. With the right tools and a bit of know-how, you’ll dig like a pro in no time.
Ready to dig in? Grab your gear, plan your trench, and let the machine do the heavy lifting. Your perfect trench is just a pull-start away!
Did you find this article helpful? Check out the rest of our blog now!


